Learn How to Install QuickBooks Database Server Manager
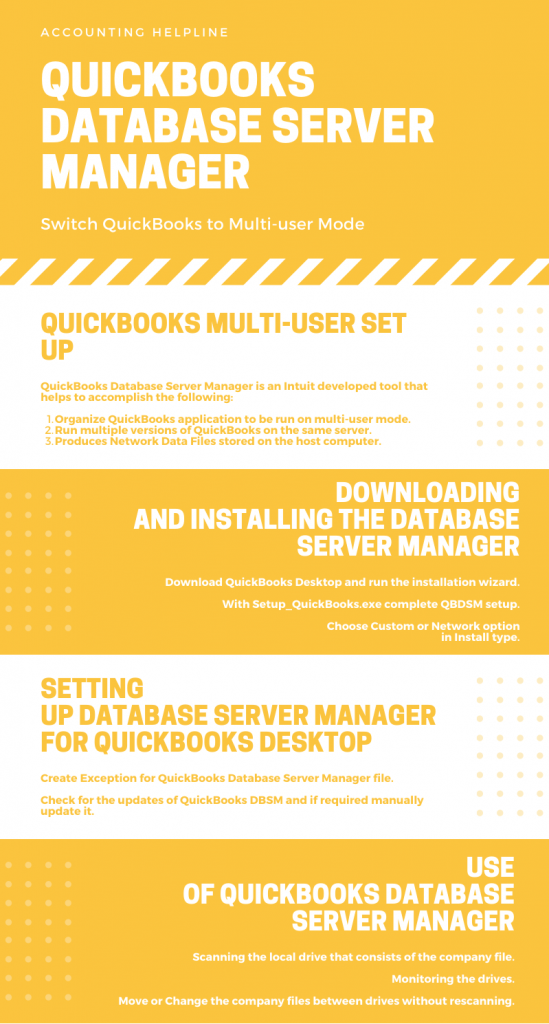
Intuit has released different tools for better user experience, and QuickBooks Database Server manager tops the list. When you connect to QuickBooks DB Manager, multi-user access is accomplished with ease. Additionally, utilizing QB Database Server Manager, multiple users can work on a common company file in multi-user environment in a network. The only thing is that the tool is to be installed for each QuickBooks Desktop version. In this detailed blog on QuickBooks server manager, we assist you in the process of its installation. Eventually, you will figure out the ways to use it for handling multiple computers on the network server.
For experts assistance related to the QuickBooks Database Server Manager, call (844)-888-4666. One of our experts will help you to set up QuickBooks manager and solve any errors related to it
Install QuickBooks Database Server Manager
Download QuickBooks Database Server Manager
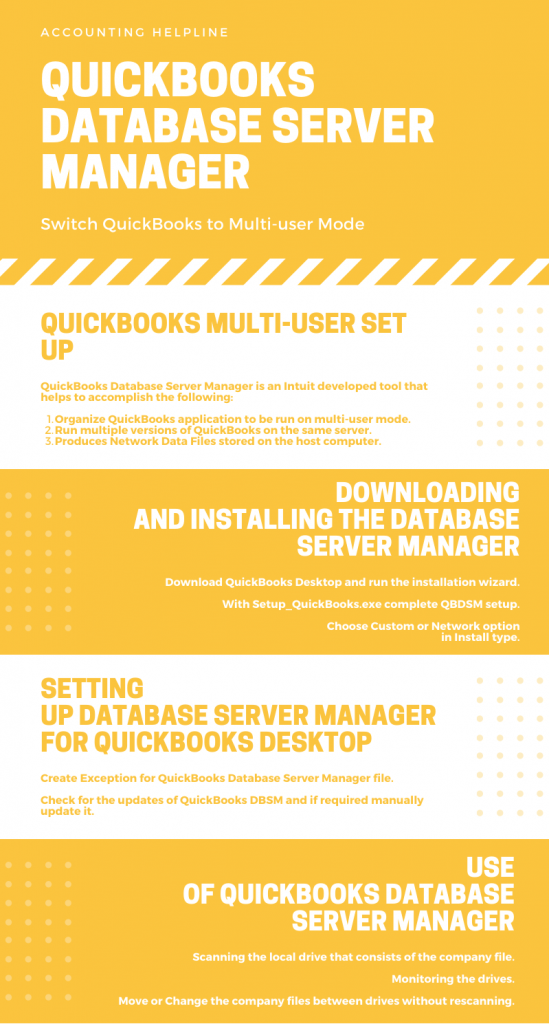
You will not come across any special provision to download QuickBooks Database Server Manager. QB Database Server Manager is part of the QuickBooks Desktop. Hence, when you download the QuickBooks desktop, QuickBooks Server Manager is downloaded with it. Here are the quick steps to install QuickBooks Desktop.
- Download QuickBooks Desktop from the QuickBooks Product Download Page.
- Save the file to an easily accessible location.
- Open the downloaded QuickBooks.exe file and agree to the software License Agreement.
- Click Next and enter the Product and License Number.
- Decide the Install type from Express, or Custom and Network.
- After that, finally, Activate and Update QuickBooks Desktop.
Download QuickBooks Database Server Manager
Install Database Server Manager on the Server Computer
The process to Install the Database Server Manager is to be employed on the server computer. By server computer, we mean the computer which will host your company files. Go through the steps below to carry out the installation of the Database Server Manager for QuickBooks Desktop.
- Close all the running programs on the server computer, and that includes QuickBooks as well.
- Search for QuickBooks.exe and follow the installation instructions as they appear on the screen.
- On being asked about the install type, choose Custom or Network Options.
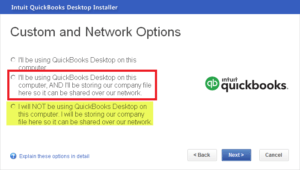
- Press Next without selecting Express.
- Choose the option best for network setup and then click Next.
For the users who will make use of DB Manager as well as QB Desktop on the server computer, choose: I'll be using QuickBooks Desktop on this computer, AND I'll be storing... In second scenario where only the Database Server Manager will be put to use on server computer choose: I will NOT be using QuickBooks Desktop...
- Once done with the instructions, hit Install.
Note: If you host multiple versions of QuickBooks desktop on your network, install them in order from the oldest first to the most recent at the end.
Provide QuickBooks Database Manager Permission to Run on the Server Computer
- Configure the Firewall manually so as to let QuickBooks Database Manager run on your server computer.
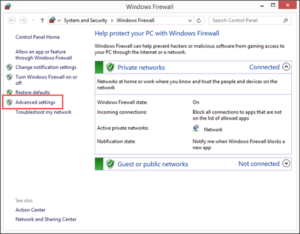
- Click on the Start menu and search for Windows Firewall. Click on it to open it.

- From the Advanced Settings, right-click on Inbound Rules and select New Rule.
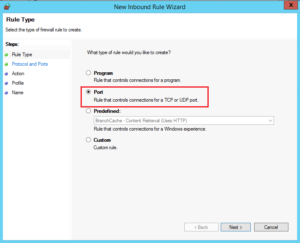
- Choose Port and hit Next.
- Ensure that TCP must be selected. After this, enter in the specific ports in specific Local Ports The port format is as per the QuickBooks version you are using.
- QuickBooks Desktop 2020: 8019, XXXXX.
- QB Desktop 2019: 8019, XXXXX.
- QuickBooks Desktop 2018: 8019, 56728, 55378-55382.
- QuickBooks Desktop 2017: 8019, 56727, 55373-55377.
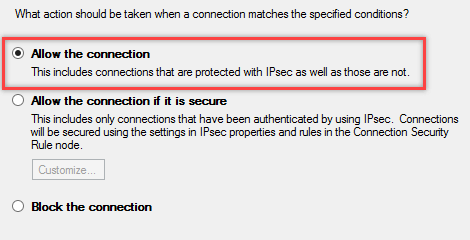
- Once you have entered the port number, click Next and Allow the Connection.
- Hit Next and when asked, mark all the profiles. Click Next once again.
- Finally, create a rule. Give it a name like “QBPorts (year).”
- When you’re done, select Finish.
*The same steps are to be repeated to create Outbound Rules. In the step 3, choose Outbound Rules and move forward as above.*
Further to create Exception for QuickBooks Database Server Manager File, create it by following the steps mentioned below:
- From the Start menu search for Windows Firewall and click on it.
- Select Advanced Settings and right-click on Inbound Rules (Follow the same for Outbound Rules later). Click on New Rule.
- Select the Program and then Next to Choose This Program Path.
- Using Browse, select the following files
- DBManager.exe-C:\Program Files\Intuit\QuickBooks YEAR
- QBDBMgrN.exe-C:\Program Files\Intuit\QuickBooks YEAR
- Hit on Next and select Allow the Connection.
- When prompted, see that all files are marked and select Next.
- Finally create a rule with name like QBExceptFirewall with .exe extension.
- At last, to Provide QB Database Manager permission to run on the server computer, repeat steps for Outbound Rules.
Check for QuickBooks Database Server Manager Update
QBDB Server Manager Update is not to be done separately. Whenever you update your QuickBooks Desktop, it automatically installs the latest updates. To manually update it, you can follow the method given below:
- Open the Windows Start menu and click on Programs.
- Search for QB DB Server Manager and hit on Updates.
- Follow the on-screen instructions to complete QuickBooks Database Server Manager Update
- For more info read our Article on how to install latest QuickBooks Database Server Manager updates.
Putting DB Server Manager for QuickBooks Desktop to use
Given below are the steps to host the company file over a network by using QBDBMgrN for QuickBooks Desktop.
Step 1: Scan the Folder
- This step is to be done only once before you share your company files.
- From the server computer, open QB Database Server Manager.
- Navigate to Scan Folders tab and click on Browse.

- Choose the folders that hold your company files (QBW).
- Click on OK after selecting the folder and select Start Scan.
*On completion of the scan, the folders become available in the “QuickBooks company files found” section. They then become accessible from other computers on the network.*
Step 2: Monitor your Drives
The scanned folders are held in the drives that appear under the Monitored Drives tab. Monitoring your drives will ensure that re-scan won’t be needed if you move or change your company files in them.
- Choose the Monitored Drives From there check-mark the boxes next to Hard Drive that hold your company files.
- At last close it and if you ever change or move the company file on the drives, re-scanning won’t be required.
Solutions for error related to QB DB Server Manager
When both QB Desktop and Database Server Manager are installed on server computer:
- Open QB Desktop on the host computer and from the File menu, select Open or Restore Company.

- Click on Open Company file and open your company file.
- Hit on Next and check-mark Open file in multi-user mode option.
- Select Open and log in to your company file.
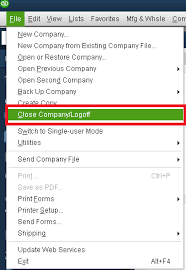
- With the use of Close Company/Log off, close the company file on the server.
- After this you need to type Database in the Windows Start menu and run QBDB Server Manager.
If only the Database Server Manager is installed
- Search and open the Control Panel from Windows Start
- Click on Administrative Tools to choose Services from the list.

- Right-click the QuickBooksDBXX service and then select Restart.
FAQs on QuickBooks Server Manager
Here take a quick look at FAQs on QuickBooks Server Manager to get the answers some of the most common questions:
Ques: What is the need of QuickBooks DBSM?
Ans: QuickBooks DBSM helps to run multi-user mode in QuickBooks . It creates network data files for each company file that is available on the hosting server.
Ques: What is the process to repair QuickBooks Database manager?
Ans: Using the QuickBooks Rebuild Data Utility, it is possible to repair the QBDBSM.
Ques: How to uninstall QuickBooks manager?
Ans: QuickBooks manager can be uninstalled if you aren’t on the multi-user mode by using the steps below
- From the Start menu of Windows, click on Programs and Features.
- Click on QuickBooks Database Server Manager and choose Uninstall or Change at the top of the window.
- Go through the on-screen steps to uninstall the QuickBooks Network Manager.
With complete detail into QuickBooks Database Server Manager, we hope you can . If you feel like contacting the QuickBooks Experts for solving your query related to Intuit Network Manager, talk to our experts at (844)-888-4666, and get instant fix.
